What Adjusters Look for During a Roof Damage Inspection
Storms can leave even the toughest roof with loose shingles, dents, and hidden leaks. Many people feel uneasy when the insurance company sends an adjuster, because they’re unsure what happens during a roof damage inspection. They wonder which spots get attention, which materials raise red flags, and how those notes affect a claim.
This post breaks down the steps that professionals follow during the roof damage inspection. You’ll learn what insurance adjusters look for on roofs, the tools they use, and the records they keep. By the end, you’ll know how to get ready, speak their language, and speed up repairs. Keep reading to protect your biggest investment from the next storm.
The First Glance: Exterior Clues
Adjusters start from the ground. They scan gutters, siding, and landscaping for scattered granules or broken tiles. These early clues help them decide where to climb and what to photograph. At this stage, they’re already checking items on the roof adjuster inspection checklist.
Key Exterior Signs
- Shingle grains piling near downspouts
- Bent gutter edges or missing end caps
- Flashing that’s rusted or pulled away
- Fallen branches still resting on the roof line
Each sign links back to the roof adjuster inspection checklist and guides the next round of close-up work.
Get in Touch
Contact Us
Shingles
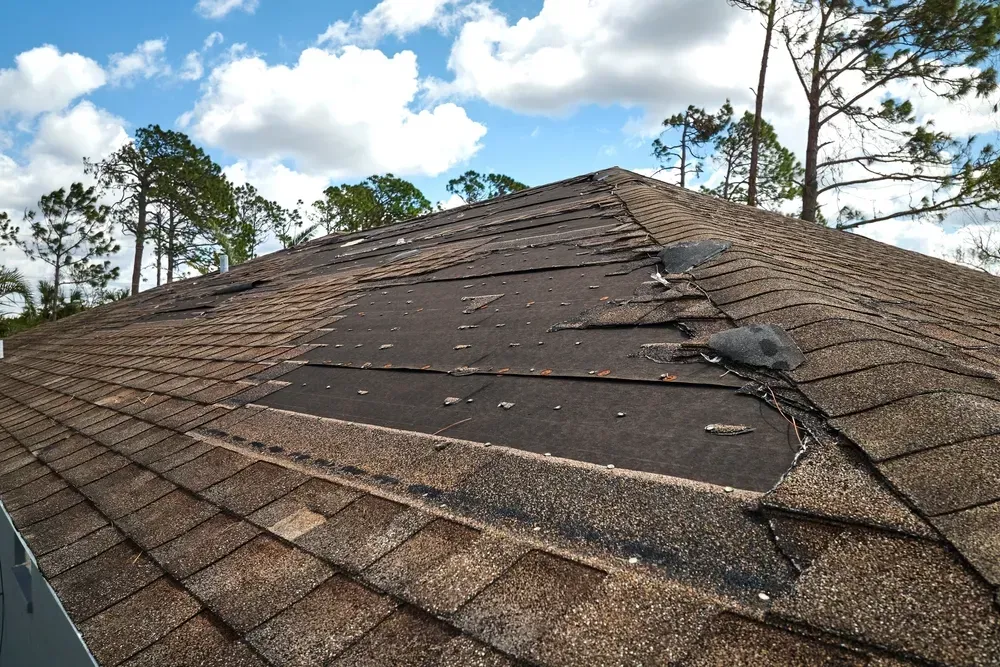
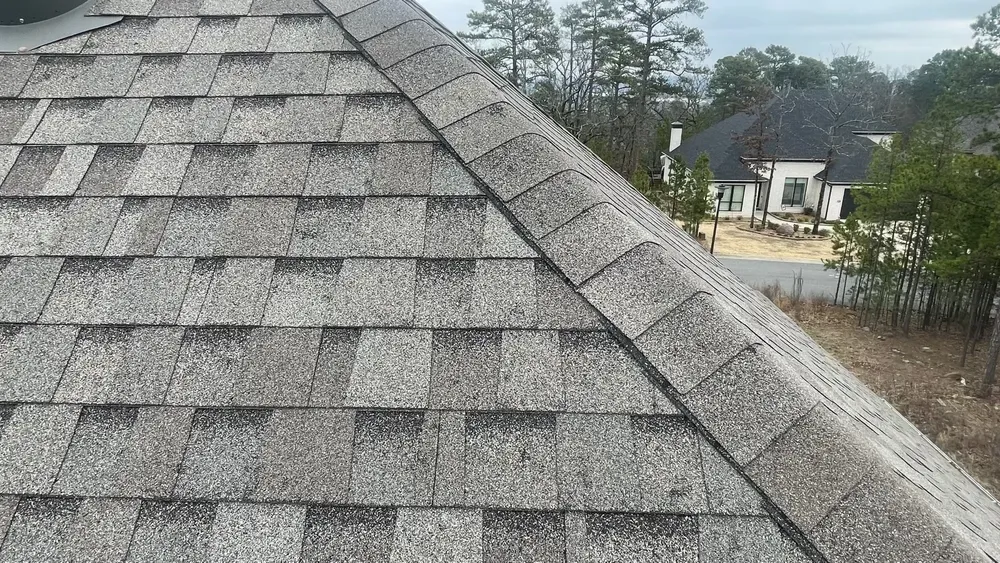
Under Scrutiny: Signs of Impact
Once on the roof deck, adjusters assess shingle condition. They compare high and low slopes, ridges, and valleys. For storms with ice pellets, they rely on a clear system for hail-damage roof inspections.
Hail Indicators
1. Dimpled asphalt with dark centers
2. Cracked ceramic on clay or concrete tiles
3. Split cedar shakes with sharp edges
4. Soft bruising you can feel but not always see
Documenting these points twice during the hail-damage roof inspection helps the carrier confirm that impact, not age, caused the damage.
Tracking the Wind: Uplift and Tear Patterns
Straight-line gusts peel shingles back while swirling currents twist vents and ridge caps. During a wind damage roof inspection, adjusters spot both types.
Wind Clues
- Tabs lifted and creased in one direction
- Nails pulled through the mat, leaving holes
- Exposed underlayment that’s flapping
- Chimney flashings bent outward
Noting each item during the wind damage roof inspection allows a fair call on repair versus full replacement.
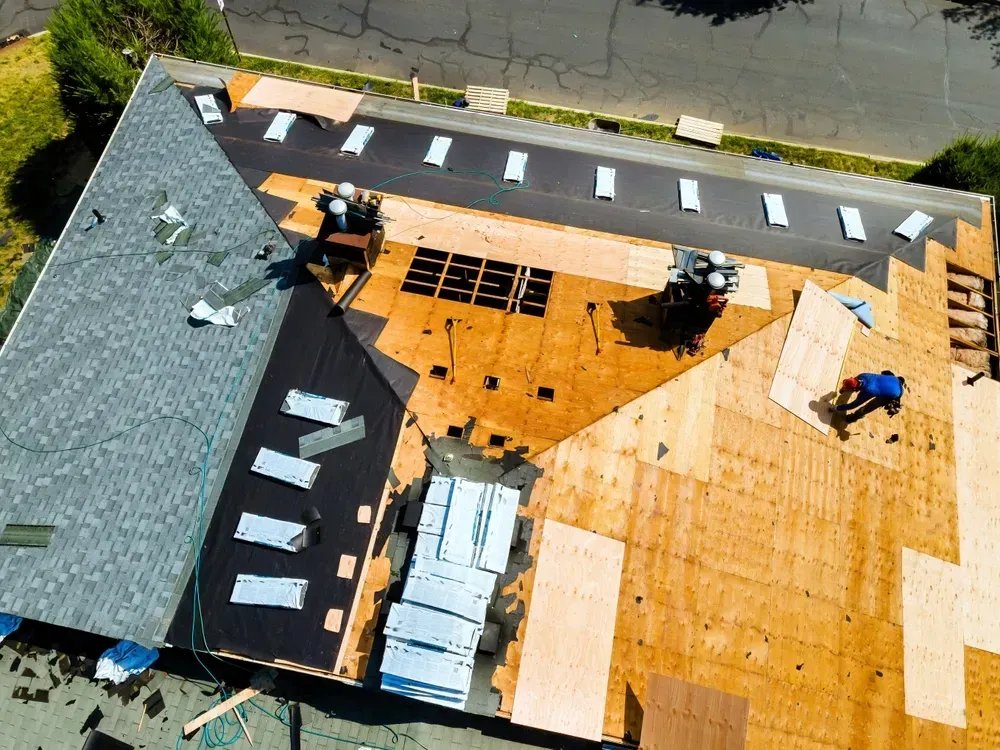
Framing, Decking, and Attic Checks
Damage isn’t always on the surface. Adjusters step inside to inspect plywood sheathing, rafters, and insulation. This deeper look rounds out the roof insurance inspection process.
Interior Review
Your adjuster will note:
Decking: Water stains, soft spots, rot- Rafters: Cracks, splits, moisture readings
- Insulation: Damp patches, mold growth
- Ventilation: Blocked paths, rusted fasteners
Recording these details twice during the roof insurance inspection process keeps the claim file strong and clear.
Prepare Like a Pro
You can’t control the weather, but you can control what the adjuster sees.
Five Easy Steps
1. Clear debris so pathways are safe.
2. Keep past repair receipts handy.
3. Mark active leaks with painter’s tape.
4. Take your own timestamped photos before the visit.
5. Stay available for questions, yet give them space.
With these steps, you’ll show you know what insurance adjusters look for on roofs while staying calm and helpful.
Roof Relief Starts Here
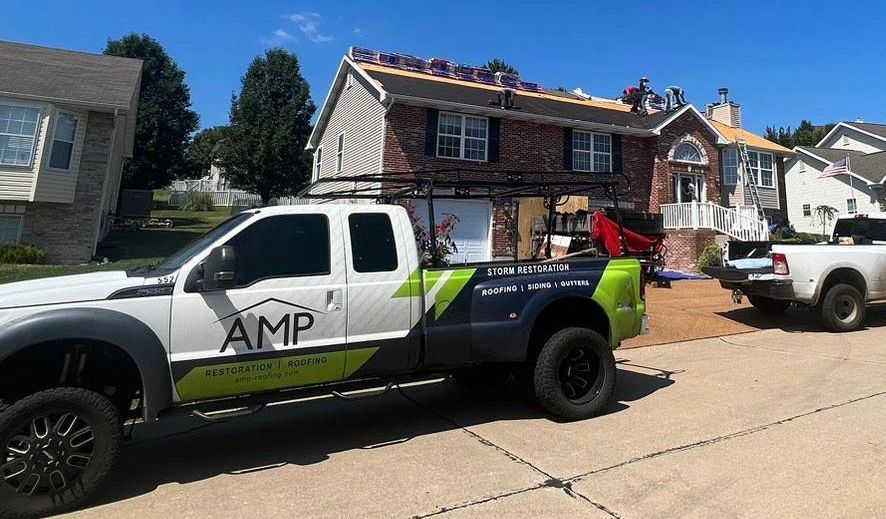
AMP Restoration & Roofing blends deep field experience with friendly guidance. Our crews know every step of the claim journey, from the first call to the final nail. We speak the adjuster’s language while focusing on your comfort. That mix of technical skill and clear talk sets us apart in the roofing world.
When storms hit, choose the team that values honesty, speed, and top-grade materials. AMP Restoration and Roofing turns stress into steady progress, and we back each project with solid warranties and transparent updates. Explore how we can restore your roof and peace of mind.

Satisfied Clients


Expert tips