Clay Tile Roofing: The Complete Guide to Installation, Costs, Pros & Cons
Rain, sun, wind, and snow can take a toll on any roof. Over time, leaks start, colors fade, and repairs pile up. Many property owners face the same question: What material will stand firm while still looking great?
This guide walks through every key point of
tiling a roof with clay tiles. You’ll learn why clay stands out, how much to budget, the steps crews follow, upkeep tips, and smart ways to decide if it’s right for you. Read on and feel confident in your next roofing move.
The Beauty and Strength of Clay
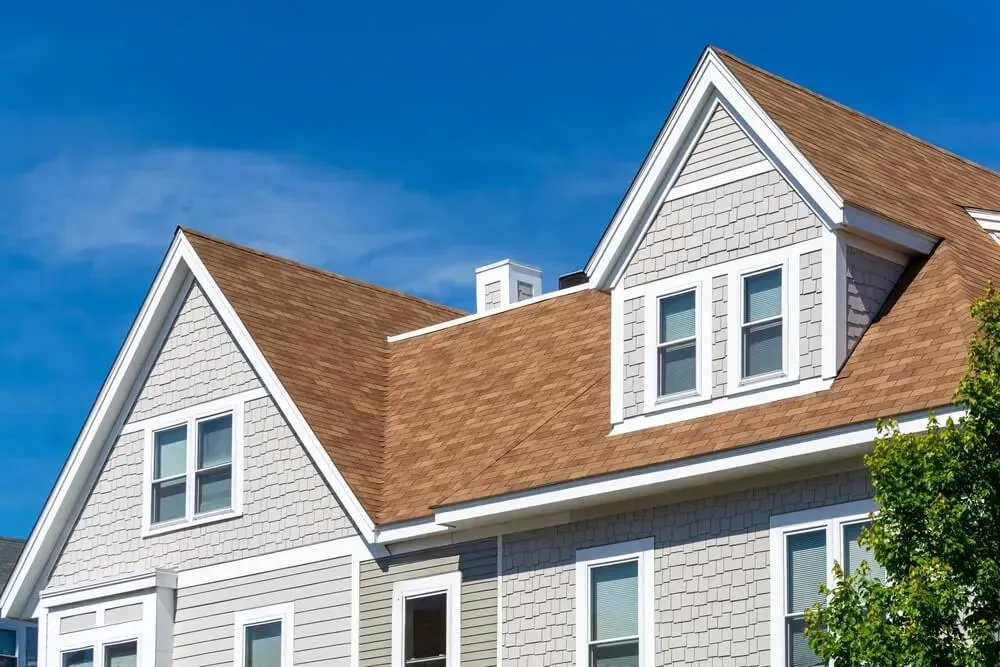
Clay has sheltered buildings for thousands of years. Today, classic barrel profiles pair old-world charm with modern engineering. Their natural texture, rich colors, and curved shapes boost curb appeal fast. They also resist rot, bugs, and salt spray, making them ideal in many climates.
Key Benefits
- Very long life—often over 70 years
- High fire rating
- Reflective pigments that lower cooling bills
- Wide color range, from earth tones to bold red clay roof tiles
That blend of style and strength places
clay roofing among the top options in the residential roofing market today.
Costs and Budget Planning
Sticker shock stops many projects before they start. Let’s break down the numbers. Material prices range from $6 to $15 per square foot. Labor adds another $5 to $12 because the tiles weigh more than asphalt. You’ll also need reinforced decking to handle the load.
The good news is many insurers give discounts for the fire resistance of these clay-tile systems. That can offset the upfront hit over time.
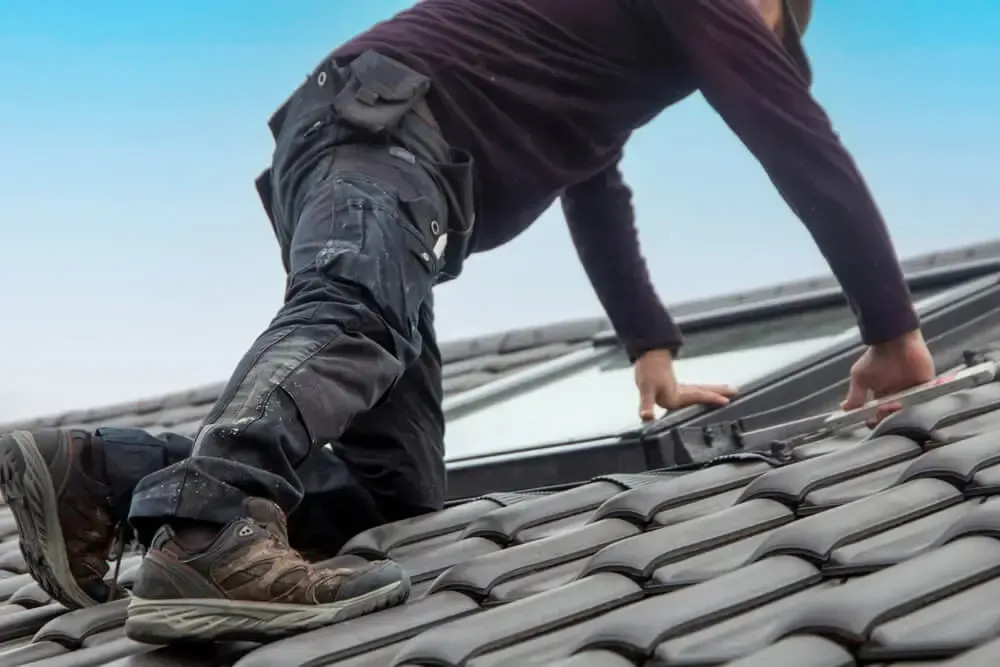
Step-by-Step Installation Overview
Proper planning keeps surprises away. The outline below shows how pros handle tiling a roof with clay tiles from start to finish.
1. Inspection and Prep
Crews confirm the frame can hold the extra weight. Weak rafters get bracing before work begins.
2. Tear-Off and Deck Repair
Old shingle layers come off. Damaged sheathing gets replaced.
3. Underlayment and Battens
A double layer of waterproof underlayment goes down, then pressure-treated battens. This grid locks each tile in place.
4. Laying the Tiles
Installers start at the eaves and move upward, staggering joints for strength. Quality jobs use corrosion-resistant clips and screws with every tile.
5. Ridges and Flashing
Special ridge caps, vents, and metal flashing seal hips, valleys, and walls. Correct flashing prevents leaks better than any sealant. When skilled hands follow each step, clay or concrete roof tiles can outlast most other roof material types.
Maintenance and Lifespan
The routine is simple: Clear leaves and twigs from valleys once a year, check flashings after storms, and replace cracked pieces right away. Because colors bake into the material, red clay roof tiles stay vibrant for decades with no paint needed. Many homeowners only call for service twice—one mid-life inspection and one final replacement after 70+ years.
Pros
• Lasts two to three times longer than asphalt
• Adds strong resale value
• Low maintenance once installed
Cons
• Higher first cost
• Heavier load on framing
• Needs skilled installers
Concrete tiles, metal panels, or composite shakes may fit tighter budgets. Wondering “what is a composition roof?” We can help you explore those options as well.
Your Roof Deserves Expert Hands
AMP Restoration and Roofing masters every phase of tile work, from structural upgrades to final ridge caps. Our team sources premium tiles made from natural clay and installs them with precision. We back each project with clear timelines, honest pricing, and spotless cleanup. Clients trust us because we listen first and build solutions around real needs.
Ready to explore
clay or concrete roof tiles or any other roof material types? AMP Restoration and Roofing brings decades of craft, advanced tools, and a promise: we treat every property as if it were our own. Request a custom plan, discuss financing, and see why our past clients rave about the lasting beauty of their roofs.
You might also like